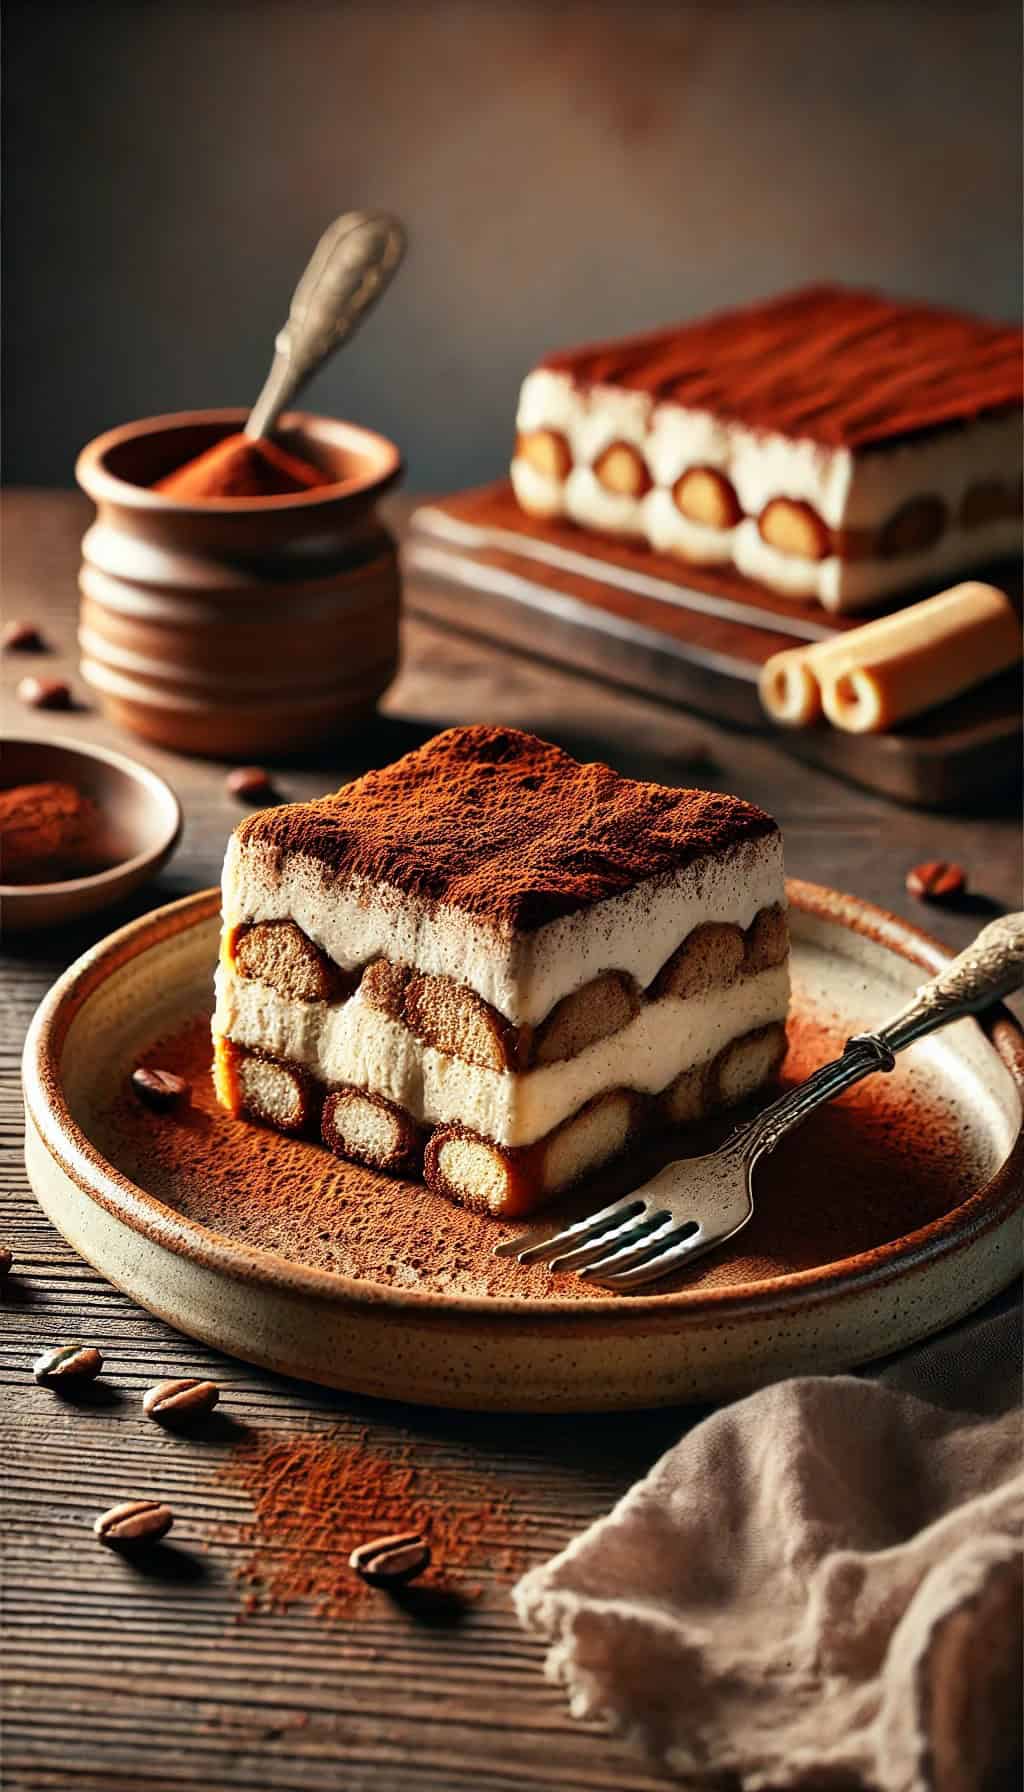
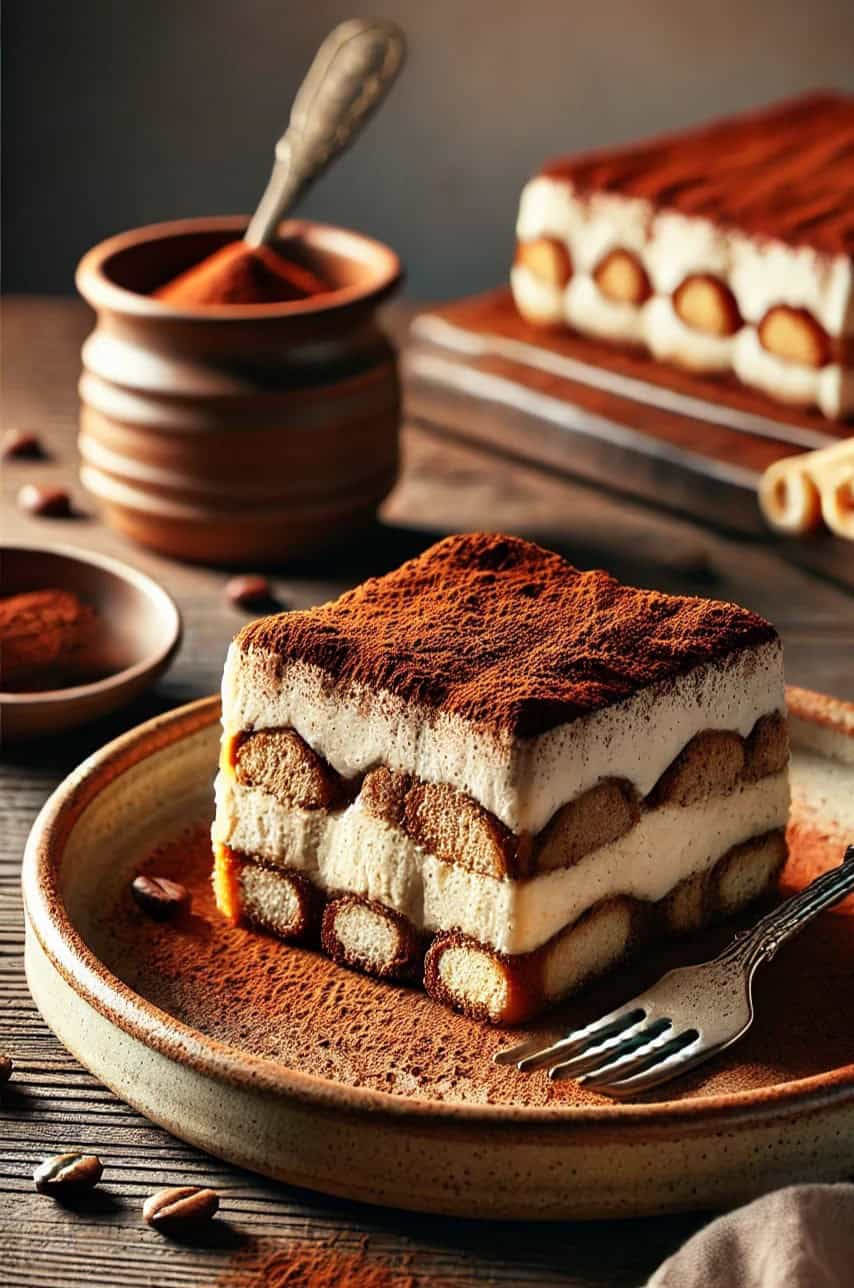
Treat yourself to the creamy, coffee-kissed layers of this Easy No-Bake Tiramisu - a dessert that feels indulgent but is so simple to make. With just 20 minutes of prep and no need to turn on the oven, you can whip up this Italian classic in no time. The rich mascarpone, perfectly soaked ladyfingers, and a hint of cocoa create a flavor that’s both elegant and comforting. It’s perfect for everything from dinner parties to cozy nights in. Trust me, after one bite, this might just become your new go-to dessert. It’s easy, delicious, and sure to impress!

Our Go-To No-Bake Tiramisu Recipe - A Family Tradition for Hot Aussie Christmases
This Easy No-Bake Tiramisu has become a staple in our home, especially since moving to Australia, where Christmas falls right in the middle of summer. Let me tell you, this dessert is a lifesaver when it’s too hot to even think about turning on the oven. It’s cool, creamy, and absolutely delicious, making it the perfect treat for a hot Christmas day.
I’ve been making this tiramisu every Christmas since we arrived in Australia, and it’s become one of our favorite traditions. But honestly, it’s not just for Christmas - this dessert makes an appearance on Father’s Day too, because it’s one of my husband’s all-time favorite treats. I’m pretty sure he looks forward to Father’s Day just as much for the tiramisu as for the celebration!
And when we’ve had one of those weeks where everyone needs a little pick-me-up by Thursday, this tiramisu always does the trick. There’s something so comforting about the layers of coffee-soaked ladyfingers, rich mascarpone cream, and that perfect dusting of cocoa powder on top. The flavors are bold yet balanced, and the texture is just dreamy - soft, creamy, and so satisfying.
If you love easy, crowd-pleasing desserts, be sure to try my Honey Cookies, Raffaello, or my Old-Fashioned Orange Pound Cake for more sweet inspiration!
Best,
Ana
Ingredients for Easy No-Bake Tiramisu
- Mascarpone cheese: A creamy, rich Italian cheese that forms the base of the smooth, velvety filling.
- Heavy cream: Whipped to soft peaks, this adds lightness and volume to the filling.
- Granulated sugar: Adds sweetness to balance the bitterness of the coffee and cocoa.
- Vanilla extract: Enhances the flavor and adds a subtle, sweet aroma.
- Coffee: Strong and brewed, it soaks into the ladyfingers, giving the dessert its signature coffee flavor.
- Unsweetened cocoa powder: Lightly dusted on top for a slightly bitter, chocolaty finish.
- Ladyfingers: Crisp, airy sponge biscuits that soak up the coffee and form the layers.
- Rum (optional): Adds a touch of warmth and depth to the dessert.
How long does Easy No-Bake Tiramisu need to chill?
Tiramisu should chill for at least 4 hours, but overnight is even better to allow the flavors to meld together fully.
Can I freeze Tiramisu?
Yes, Tiramisu can be frozen. Wrap it tightly in plastic wrap and freeze for up to 2 months. Thaw in the fridge before serving.
How long does Tiramisu last in the fridge?
Tiramisu can last for up to 3-4 days when stored in the fridge, but it's best eaten within 1-2 days for optimal flavor and texture.
How to Make Easy No-Bake Tiramisu
- Whip the Cream: In a large bowl, whip the heavy cream until soft peaks form. Place the whipped cream in the fridge to keep it cold and stiff until you’re ready to use it.
- Prepare the Mascarpone Mixture: In another large bowl, cream together the mascarpone cheese, vanilla extract, and granulated sugar until smooth. Gently fold in half of the whipped cream to lighten the mascarpone mixture, then carefully fold in the remaining whipped cream, being cautious not to overmix.
- Prepare the Coffee Mixture: In a separate bowl, mix together the cooled coffee and rum (if using). Set aside. Have the cocoa powder and ladyfingers ready, along with a 9x9 inch square baking pan.
- Assemble the Tiramisu: Dip each ladyfinger into the coffee mixture, soaking them quickly so they don’t become too soggy. Arrange the soaked ladyfingers in a single layer on the bottom of the prepared baking pan. Spread half of the mascarpone mixture evenly over the ladyfingers. Sift 1 tablespoon of cocoa powder over the mascarpone layer.
- Add the Second Layer: Repeat the process by dipping the remaining ladyfingers in the coffee mixture and arranging them on top of the first layer. Spread the remaining mascarpone mixture over the top and sift the remaining tablespoon of cocoa powder over the surface.
- Chill the Tiramisu: Cover the pan with plastic wrap and refrigerate the tiramisu for at least 4 hours, or up to 24 hours, to allow the flavors to meld and the dessert to set.
- Serve: Serve and enjoy!

Recipe Variations
- Chocolate Tiramisu: Swap the coffee for hot chocolate or mocha, and add a layer of melted dark chocolate between the mascarpone layers. You can also use chocolate-covered ladyfingers or sprinkle chocolate shavings on top for extra indulgence.
- Fruit Tiramisu: Replace coffee with fruit juice, like orange or mixed berry, and add fresh fruit such as strawberries, raspberries, or peaches between the layers. Top the dessert with a dusting of cocoa powder or a few fruit slices for a summery twist.
- Lemon Tiramisu: Swap coffee for lemon syrup (made with fresh lemon juice, water, and sugar), and fold some lemon zest into the mascarpone mixture. Garnish with lemon zest or candied lemon slices for a refreshing citrusy version.
- Matcha Tiramisu: Use matcha (green tea powder) mixed with a little hot water instead of coffee, and add some matcha powder to the mascarpone for a green tea-flavored tiramisu. Dust the top with matcha powder for an earthy, tea-flavored variation.
- Nutella Tiramisu: Spread a thin layer of Nutella over the ladyfingers before layering the mascarpone mixture. Garnish with chopped hazelnuts and drizzle with more Nutella or chocolate sauce for a rich, nutty treat.

Easy No-Bake Tiramisu
Ingredients
- 500 g Mascarpone cheese, softened
- 600 ml heavy cream
- 1/3 cup granulated sugar
- 1 tsp vanilla extract
- 2 1/2 cups coffee cooled
- 2 tbsp unsweetened cocoa powder
- 30 ladyfingers
Optional:
- 2 tbsp rum
Instructions
- Whip the Cream: In a large bowl, whip the heavy cream until soft peaks form. Place the whipped cream in the fridge to keep it cold and stiff until you’re ready to use it.
- Prepare the Mascarpone Mixture: In another large bowl, cream together the mascarpone cheese, vanilla extract, and granulated sugar until smooth. Gently fold in half of the whipped cream to lighten the mascarpone mixture, then carefully fold in the remaining whipped cream, being cautious not to overmix.
- Prepare the Coffee Mixture: In a separate bowl, mix together the cooled coffee and rum (if using). Set aside. Have the cocoa powder and ladyfingers ready, along with a 9x9 inch square baking pan.
- Assemble the Tiramisu: Dip each ladyfinger into the coffee mixture, soaking them quickly so they don’t become too soggy. Arrange the soaked ladyfingers in a single layer on the bottom of the prepared baking pan. Spread half of the mascarpone mixture evenly over the ladyfingers. Sift 1 tablespoon of cocoa powder over the mascarpone layer.
- Add the Second Layer: Repeat the process by dipping the remaining ladyfingers in the coffee mixture and arranging them on top of the first layer. Spread the remaining mascarpone mixture over the top and sift the remaining tablespoon of cocoa powder over the surface.
- Chill the Tiramisu: Cover the pan with plastic wrap and refrigerate the tiramisu for at least 4 hours, or up to 24 hours, to allow the flavors to meld and the dessert to set.
- Serve: Serve and enjoy!
For the Curious Foodie
Tiramisu’s Italian Roots
Tiramisu, meaning "pick me up" in Italian, is a classic dessert that hails from the Veneto region in northern Italy. Its origins are often traced back to the 1960s, with the restaurant "Le Beccherie" in Treviso being credited for creating this delightful dessert. Tiramisu's name comes from its ability to "pick you up" thanks to the energizing combination of coffee, cocoa, and sugar. It's no wonder this indulgent dessert quickly gained popularity, not just in Italy but around the world.
The Ingredients that Make Tiramisu Unique
Traditional tiramisu features layers of coffee-soaked ladyfingers, a rich mascarpone cream, and a dusting of cocoa powder. Some versions include a splash of rum or marsala wine for an extra depth of flavor, though alcohol is optional. The beauty of tiramisu lies in the contrast of textures: the softness of the soaked ladyfingers against the creaminess of the mascarpone. It’s luxurious yet simple.
Tiramisu Fun Facts
- Tiramisu's relatively recent invention means it's still evolving. Today, you'll find countless variations of the dessert, including fruit-based versions, tiramisu cakes, and even tiramisu-flavored ice cream.
- Unlike many other traditional Italian desserts, tiramisu doesn’t require baking, making it a perfect dessert for hot summer days (or for when you just don’t feel like turning on the oven).
- Although it originated in Italy, tiramisu has inspired chefs worldwide to put their own creative twist on the dish. It has even become a popular dessert in Japanese and American restaurants
Enjoy experimenting with this beloved dessert and let it "pick you up" in the sweetest way possible!
Author
-
Welcome to my culinary haven! My name is Ana, and I'm the passionate voice behind World Cuisines Network. Here, I share recipes that have not only won the approval of my family but have also stood the test of time in our kitchen. My goal is to introduce the rich tapestry of global flavors right to your family table. Thank you for dropping in! We're thrilled to have you join us.
View all posts


Leave a Reply
You must be logged in to post a comment.